How to Make a Card Paper Packaging Box for Your Product
A Step-by-Step Guide
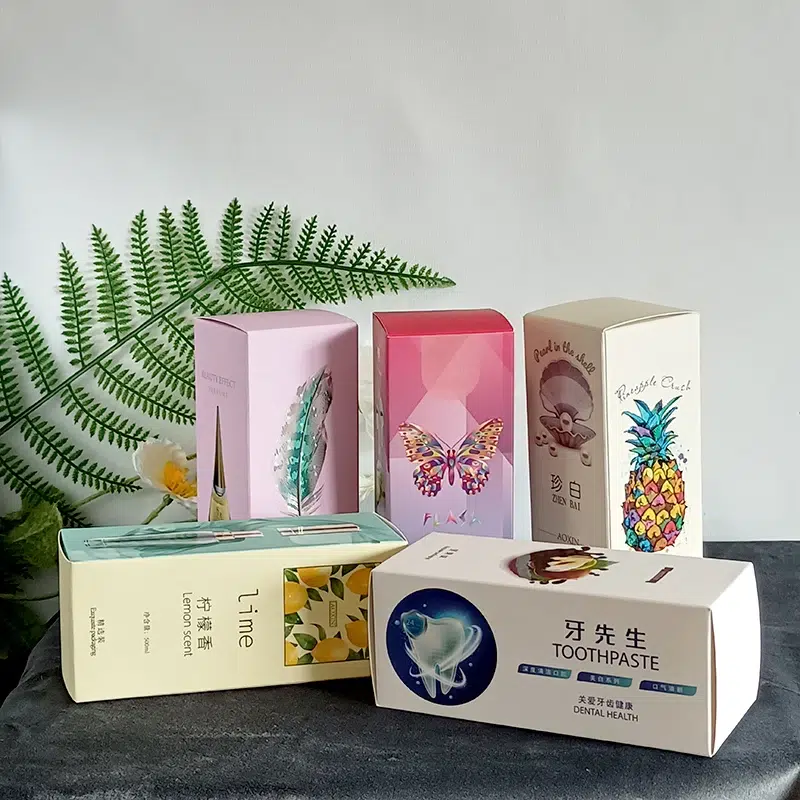
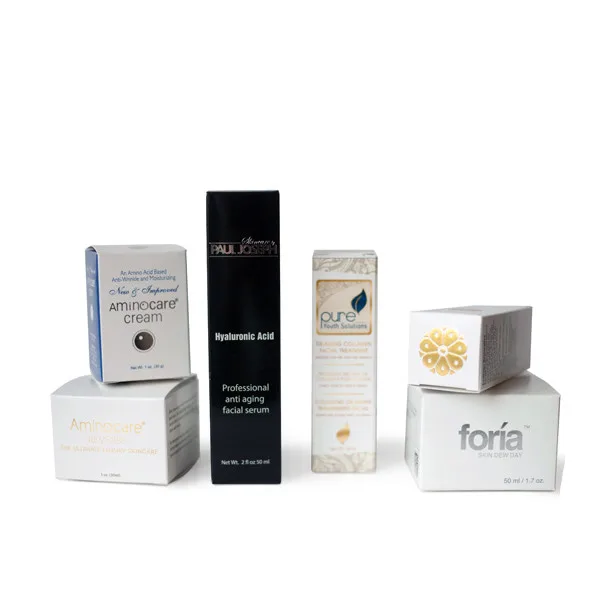
Looking for a way to elevate your brand’s unboxing experience without breaking the bank? Creating a custom card paper packaging box is a perfect, cost-effective solution. Not only does it offer a personal touch, but it also showcases your commitment to quality and sustainability.
This comprehensive guide will walk you through the entire process, from gathering materials to adding the final professional touches. Let’s create packaging that your customers will love.
Why Choose Card Paper for Your Product Packaging?
Before we begin, let's understand why card paper (or cardstock) is an excellent choice:
Professional & Premium: It’s sturdy and offers a high-quality feel.
Brand-Friendly: Easy to print on, allowing for full customization.
Eco-Conscious: Often made from recycled materials and is fully recyclable.
Protective: Provides excellent rigidity to keep your products safe.
Materials & Tools You Will Need
Gather these items before you start:
Card Paper (Cardstock): 250-350 gsm is ideal for a sturdy box. White is standard, but colors work too.
Ruler and Pencil: For precise measurements.
Cutting Mat: To protect your work surface.
Utility Knife or Precision Cutter: For clean, sharp cuts.
Scoring Tool: A dedicated scoring tool, a dull knife, or even an empty ballpoint pen.
Strong Glue or Double-Sided Tape: Glue offers a stronger bond, while tape is cleaner.
Bone Folder (Optional but Recommended): For creating crisp, sharp folds.
The Step-by-Step Process to Make Your Custom Box
Step 1: Measure Your Product and Plan the Box Dimensions
This is the most critical step. Incorrect measurements will result in a poorly fitting box.
Length & Width: Measure the base of your product. Add 1-2 mm to these dimensions for a snug fit.
Height: Measure the height of your product and add a few millimeters for comfort.
Plan the Box Net: A box is made from a single “net” or template.
Step 2: Create the Box Template on the Card Paper
Using your measurements, draw the template onto the back of your card paper.
Draw the Base: Start by drawing a rectangle in the center of the paper. This is the bottom of your box.
Draw the Sides: From each side of the base rectangle, draw outward lines to create the four walls.
Add the Glue Tabs: On two opposite sides, extend one of the side flaps by about 2-3 cm.
Create the Top Flaps: From the top of each wall, draw inward lines.
Step 3: Score All the Fold Lines
Scoring is the secret to a professional-looking fold. It compresses the paper fibers, preventing cracking and ensuring a clean, straight edge.
Place your ruler along every line where the paper needs to fold.
Using your scoring tool and ruler, gently but firmly press and drag along these lines.
Step 4: Carefully Cut Out the Template
Using your utility knife and a metal ruler, carefully cut out the outer shape of your box net.
Be precise, especially around the corners, as this will affect the final appearance.
Step 5: Fold Along the Scored Lines
Now, fold the cardstock along all the pre-scored lines.
Use your bone folder or the back of a spoon to press down firmly on each fold.
Step 6: Assemble and Glue the Box
Apply a thin, even layer of strong glue to the glue tabs.
Carefully bring the sides up and press the glued tabs firmly against the inside of the opposite wall.
Step 7: Add the Final Branding Touches
A plain box is functional, but a branded box is memorable.
Printing: Print your logo and design directly onto the paper before cutting and folding.
Stamping: Use rubber stamps and ink for a handmade, artisanal look.
Stickers: A custom-printed sticker is an easy way to seal the box and add your branding.
Conclusion: From DIY to Professional Packaging
Congratulations! You’ve just created a custom, professional card paper packaging box. This process not only saves money but also gives you complete creative control over how your product is presented.
Ready to source custom-printed card paper boxes for your brand? [Contact Us] today for a quote and let us help you create packaging that wows your customers and builds brand loyalty.


